Prepare for one lengthy, picture-filled post!
After nearly 7 months of considering and researching cloth diapering, we finally decided to try it out. Not really because it's the earth-friendly way to go (though it is an added benefit), but because every one of those cute little Mickey Mouse Huggies brought us one step closer to the poor house.
Cloth diapers aren't what they used to be.. there are SO many options to consider! All-In-Ones (AIO), pockets, prefolds, covers, contours, fitteds... I mean, to say that this is overwhelming is a major understatement - especially when you have NO experience with cloth dipes whatsoever.
Here is the most helpful site I found on diaper types. She has done a fantastic job on this page. Illustrations and pros & cons were just what I needed to help steer me in the right direction.
In the end (and after a fair amount of trial and soaking wet errors), we decided to go with waterproof diaper covers (homemade), prefolds (store bought - more on why later) with diaper pins, plus a soaker pad at night (homemade). I also made flannel wipes to go with it. Making most of these things myself saved us
loads of dough. The cost of making them was just above the amount we spend on Huggies in one month. Can't complain!
To make the wipes, I reused old flannel receiving blankets that were too small to be used on the girls, which meant the were totally FREE! I cut mine 5x7 (there's no specific size requirement - these work great for us), stacked them in layers of 2, and serged around the edges. Talk about easy - why didn't I do this before? The wipe solution is even easier - 2 Tbsp baby oil, 1 Tbsp baby shampoo, 2 cups water. Shake it up and pour it in a spray bottle. This was also free, because what house with a baby in it doesn't already have those things on hand? :)
Next I worked on the soaker pads. FYI - you
can't only use soaker pad + diaper cover.. the pad slides around and bunches up, making a huge mess. Learn from my mistake! My soaker pads were also totally FREE! yesssss! :) I made 2 different types: small (for daytime) and large (for overnight). The overnights were made up of 2 materials: fleece and baby terry. The terry is the absorbent part, and the fleece is a stay-dry layer to keep the baby from sitting directly on the moisture. After ransacking the bathroom closet, I found a bunch of baby towels - you know, the super thin hooded 'towel' that leaves your shirt more soaked than it is? They are perfect for this, and most moms probably have several of these stuffed underneath the REAL towels. Following the insert pattern from
Cloth Revolution, I cut 2 layers of terry + 1 layer of fleece for each soaker and serged them together. The daytimes were cut 1/2 the length of the overnights, and are made up of 4 layers of scrap flannel serged together.
The diaper cover pattern also came from Cloth Revolution, and was easy to use. I did, however, modify it a smidge because I wanted the hook tabs to be covered instead of exposed. The PUL fabric, cute patches, and velcro came from Hobby Lobby, and the fold-over-elastic (which is awesome) came from the etsy store
Mary, Not Martha. She's got amazing prices and fast shipping! Altogether, I spent about $70 to diaper two girls - not bad! Escpecially when you consider I made nearly twice as many as I actually needed to save myself from too much laundry, and to save them from so much wear.
 |
| Lacie Approves! :D |
While the covers were pretty time consuming (particularly sewing on the elastic that goes around the entire diaper), they were a fairly easy project. You don't need a fancy machine or mad sewing skills to make them. You start out by cutting out the PUL material (available at Hobby Lobby, Joann's, or online) to match the size you need. Cloth Revolution's pattern comes in Newborn (fits most like a Huggies 1-2), Medium (fits most like a Huggies 3), or Large (which I didn't make, so I'm not sure what size it would match). Keep in mind that if your baby is in a 2 right now, you'll be better off making a medium, not just to get more wear out of it, but to have room for the prefold underneath. If your baby is coming close to outgrowing a 3, you might want to go with a large for the same reason.
 |
| Sorry about the super weird light shining in. |
|
|
Once your PUL is cut, you'll add the velcro / hook & loop - which is 'technically' called EZ Adjust Tape when it's the type made specifically for diapers. It's supposedly easier to adjust.. I don't know that I've noticed a difference, but I do like that they give you twice as much loop as hook, since that's what you need for these diapers. I don't feel like I'm throwing out yards of velcro this way. :) For the front of the diaper, you'll need one long piece of loop. I used 6 1/2 inches of loop for newborn and 8 1/2 inches of loop for medium. You'll also need 2-2 inch pieces of hook for the tabs. Sew them on with a sturdy stitch like a 3-step zigzag (has 3 tiny stitches in each zig and zag) or a regular zigzag.
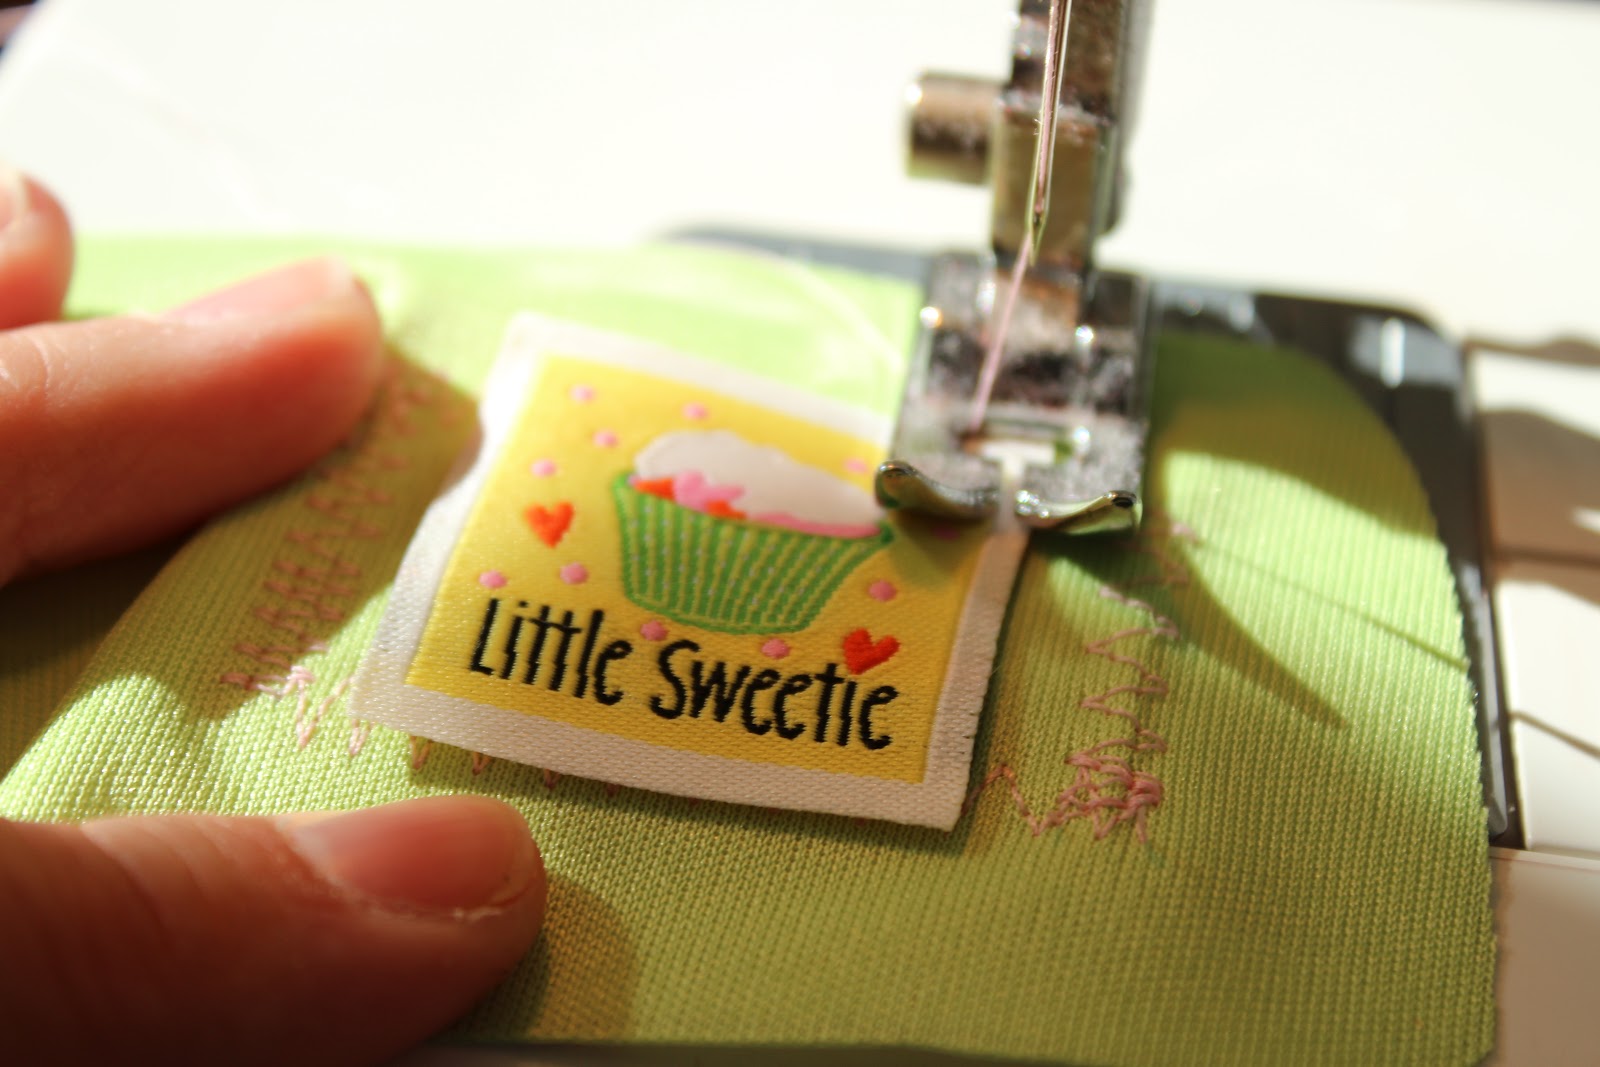
Then sew on the tag if you have one. You can use a zigzag or a straight stitch for this. I put mine on the back of the hook tabs, but they can go anywhere. :)

Then comes the daunting task of the elastic.. *sigh*. Ok, maybe it only seems daunting to me because I've got 21 of these things. If I were only making a reasonable amount for one baby, I probably wouldn't hate it so much, haha. I bought the shiny kind of fold-over-elastic (FOE). It was SOOO much cheaper on etsy than in the store - I literally bought 7 times as much as I could have gotten in store for the same price. Definitely visit the Mary, Not Martha store listed above. Start your elastic at the back left of the diaper along the waist. Stretch while sewing with a 3-step zigzag or a regular zigzag. Stop stretching when you get to the back right of the waist, and sew around the tab without stretching. When you get to the leg, stretch and sew again. Stop stretching when you get to the tab, and sew along the front and next tab without stretching. Stretch and sew along the next leg. Stop stretching when you get to the last tab, and sew around to meet where you started. Wordy explanation, but it's easy when you look at how a diaper is made.
 |
| Areas in red need elastic to be stretched while sewn. Areas in black need sewn without stretching. |
The last step is to seal the needle holes by throwing it in a hot dryer and running it for 20 minutes. Easy enough. Just DON'T FORGET to hook the velcro together before you do this! It will snag like crazy if you don't. And then it's finished. :)
I wasn't quite as successful with homemade prefolds. After watching a video showing how a group of missionaries made diapers for babies from t-shirts, I decided to give it a go.. after all, we have loads of old tees. They look fine, but the pins are murder to get in. This material is just too tightly woven to slide them in, and who wants to wrestle a 15 month old for 5 minutes while you're trying to shove a pin through a diaper? Not me. So, we are going with store-bought. Fortunately, I had a few lying around, so I've been able to test them out. :)
After watching youtube videos of several different methods of putting a prefold on, I came across one that left us leak-free on both babies! Here's how it goes:
 |
| Step 1: Lay out your prefold. |
 |
| Step 2: Fold down the back to fit your baby. |
 |
Step 3: Add a soaker pad if you're using one (fleece side down for overnights).
(Older babies may be able to go without one during the day, and just use one at night. For heavy wetters, use the daytime soaker during the day, and an overnight or both during the night.) |
 |
| Step 4: Fold one side over. |
 |
| ... and the other side. |
 |
| Step 5: Open up the back to make it roomy. |
 |
| ... and the other side. |
 |
| Step 6: Fold down the soaker (if it's an overnight one). |
 |
| Lay baby on the diaper. |
 |
| Pull the front of the diaper up, and open it up a little for larger babies. |
 |
| Pull the back around to fit snug. Keep your fingers between the diaper and your baby while pinning, and make sure the whole pin is full - empty space on the pin means the diaper will loosen up. You can use Snappies instead if you don't like the idea of diaper pins. |
 |
| It fits babies much better than Cabbage Patch Kids, haha. |
 |
| Put on the waterproof cover. |
 |
| DON'T FORGET to tuck in any white that sticks out! That's not for looks - it'll leave their pants soaking wet if you skip this. |
|
|
When changing, the covers don't need to be washed every time. Being waterproof, just wipe them off and let them air dry. You don't have to wash them unless they get dirty or smelly, which the main reason that this style is cost effective - you can get away with only several covers vs. many single-use all-in-ones. :)
That pretty much sums it up. Hopefully, if you're contemplating this like I was for months, this has helped at least a little in your decision making. :)


No comments:
Post a Comment